Imagine your car's electrical system as a bustling city, with the amp as a power-hungry factory. When the bass drops, the factory demands a surge of electricity, sometimes causing the lights to dim. That’s where the amp capacitor comes in, acting as a mini-power plant to smooth out these surges, ensuring consistent, clear audio. In this guide, we will explore the magic behind amp capacitors, demystify their workings, and guide you to use them effectively.
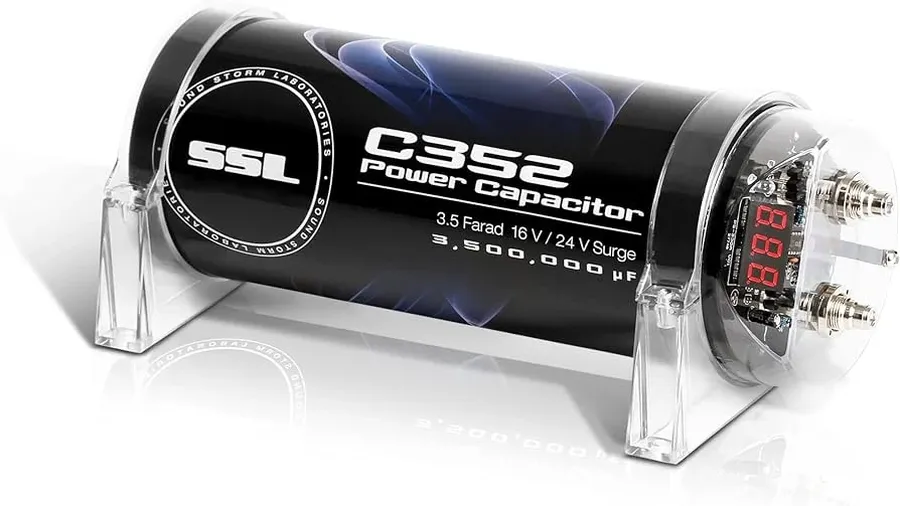
An amp capacitor serves as a crucial intermediary in a car audio system, acting as a localized energy reservoir positioned between the vehicle's power supply and the amplifier. Its primary function is to store electrical charge and rapidly release it on demand, thereby supplementing the car's electrical system and ensuring a stable and consistent power supply to the amplifier, especially during peak audio demands.
Essentially, the amp capacitor mitigates fluctuations in the electrical system, preventing issues like voltage drops which can cause audio distortion, dimming headlights, and overall diminished performance of the car's audio equipment. By providing on-demand power, the capacitor enables the amplifier to operate at its optimal levels, delivering clean and powerful audio reproduction.
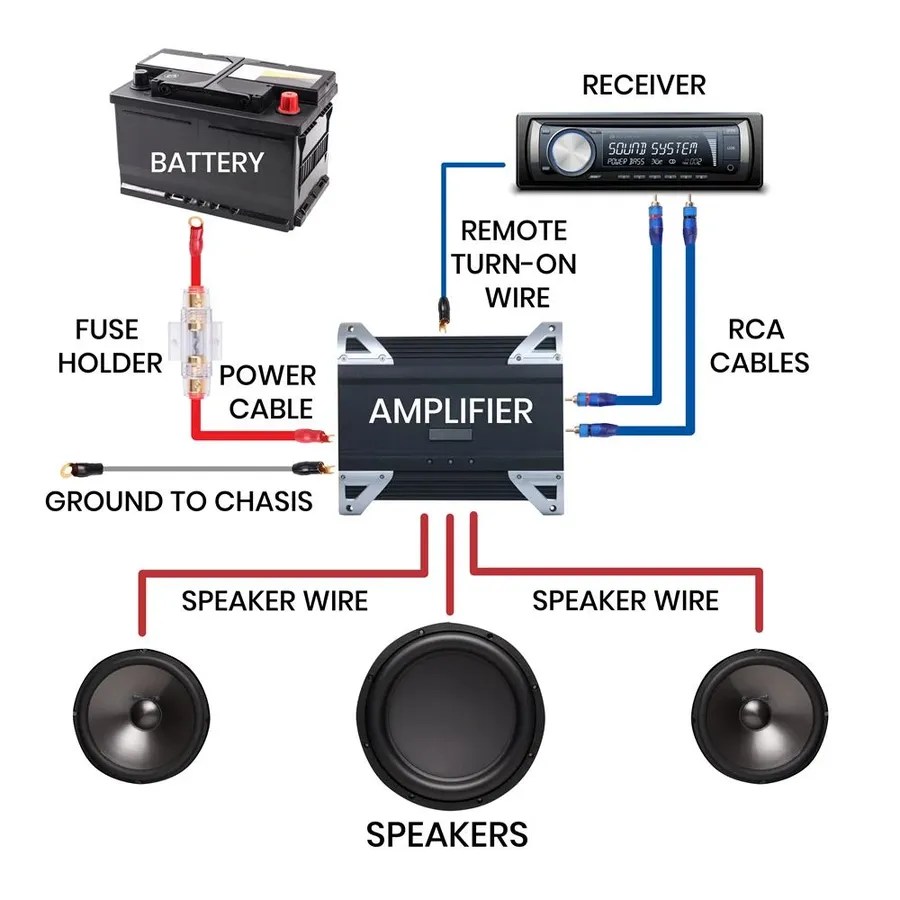
Amp capacitors act as localized energy reservoirs within a car's audio system, mitigating the detrimental effects of voltage drops that occur during periods of high power demand. They achieve this by rapidly storing and releasing electrical energy, effectively stabilizing the voltage supply to the amplifier.
During dynamic music playback, especially with tracks featuring heavy bass or sudden transients, car amplifiers often demand significant current. This sudden draw can cause a temporary dip in the vehicle's electrical system voltage, manifesting as dimming headlights, audio distortion, or even amplifier shut-off. An amp capacitor, connected in parallel with the amplifier's power input, provides a readily available source of energy to supplement the vehicle's electrical system during these peak demands.
The capacitor is charged by the car's electrical system when the current draw is low, storing energy as an electrical field. When the amplifier requires a surge of power, the capacitor rapidly discharges, providing the necessary current to maintain a stable voltage. This quick charge-discharge cycle helps to smooth out voltage fluctuations, thus preventing the detrimental effects of voltage drops.
| Component | Function | Impact on Voltage |
|---|---|---|
| Car Battery | Primary power source, maintains base voltage level. | Slow response to sudden current demands, prone to voltage drops. |
| Amp Capacitor | Local energy storage, supplements the power supply. | Rapid discharge to maintain stable voltage during peak demands. |
| Amplifier | Draws electrical current to increase the audio signal power. | Causes voltage dips during high demand. |
By delivering energy on demand, the capacitor effectively acts as a buffer, ensuring the amplifier consistently receives the required voltage. This constant voltage prevents audio signal clipping, reduces harmonic distortion, and prevents the annoying effect of dimming headlights, ultimately improving audio quality and overall system stability.
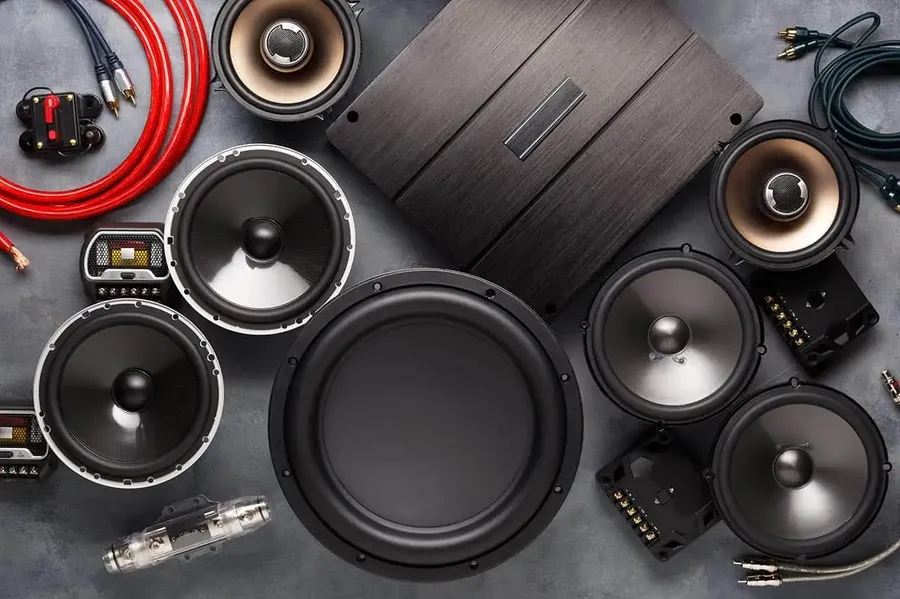
An amp capacitor is not a universal necessity for all car audio systems; its relevance is dictated by the amplifier's power demands in relation to the vehicle's electrical system. Determining when a capacitor is essential versus overkill hinges on a careful evaluation of these two factors, ensuring optimal performance without unnecessary expense or complexity.
Specifically, an amp capacitor becomes necessary when the power demands of your amplifier exceed what your vehicle's electrical system can provide consistently. This is often indicated by symptoms such as headlight dimming or a noticeable drop in audio quality during bass-heavy passages.
Conversely, for systems with low-power amplifiers (under 200 watts RMS) or vehicles with robust electrical systems, an amp capacitor may be an unnecessary addition. The vehicle’s electrical system may adequately provide the energy, thus rendering an external capacitor redundant.
| Factor | When a Capacitor is Likely Needed | When a Capacitor May Not Be Needed |
|---|---|---|
| Amplifier Power | High RMS Power (500W+) | Low RMS Power (Under 200W) |
| Vehicle Electrical System | Weak or Older System | Robust System, High-Output Alternator |
| Music Type | Bass-Heavy Music | Music with Consistent Dynamics |
| Wiring | Long Cable Runs | Short, Well-Gauged Cables |
In summary, the decision to install an amp capacitor should be based on a clear understanding of your audio system's power requirements and your vehicle's capacity to meet those needs. Careful assessment will ensure the system operates efficiently, without undue strain on your electrical system, thus optimizing both sound quality and overall performance.
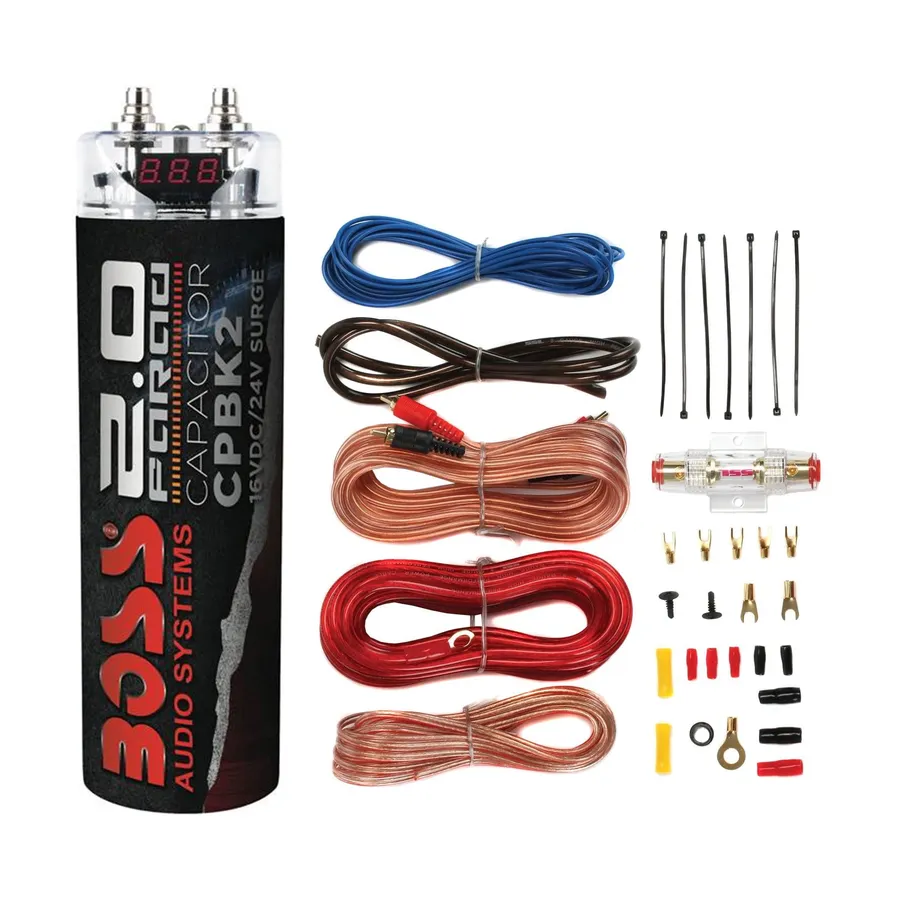
Selecting the correct size for your amplifier capacitor is crucial for optimal performance of your car audio system. The primary factor in this selection is the amplifier's power output, usually measured in watts. An undersized capacitor will not adequately stabilize voltage, while an oversized capacitor may be unnecessarily bulky and expensive. The industry standard for capacitor sizing is typically around 1 Farad (F) per 1000 watts of amplifier power, a principle derived from basic electrical engineering principles related to energy storage and current delivery.
| Amplifier Power (Watts) | Recommended Capacitor Size (Farads) | Additional Considerations |
|---|---|---|
| Up to 500W | 0.5F | For smaller, low-power setups. May not be critical but beneficial. |
| 500W - 1000W | 1F | The minimum standard size recommended for moderate systems. |
| 1000W - 2000W | 1.5F - 2F | Required for systems with more power. Consider 2F for higher end of range. |
| 2000W - 3000W | 2.5F - 3F | For high power systems. Ensure the system's peak requirements are covered. |
| 3000W+ | 3F+ | Multiple capacitors are often used to meet the significant demand of very high power systems. |
It's crucial to note that these recommendations are general guidelines. The specific needs of your system may vary based on the amplifier's efficiency, the length of the power cable, and other system factors. When in doubt, or if your amplifier has an exceptionally high current draw, choosing a slightly larger capacitor can provide added insurance against voltage fluctuations and performance dips. Always consult your amplifier's manual for specific recommendations.
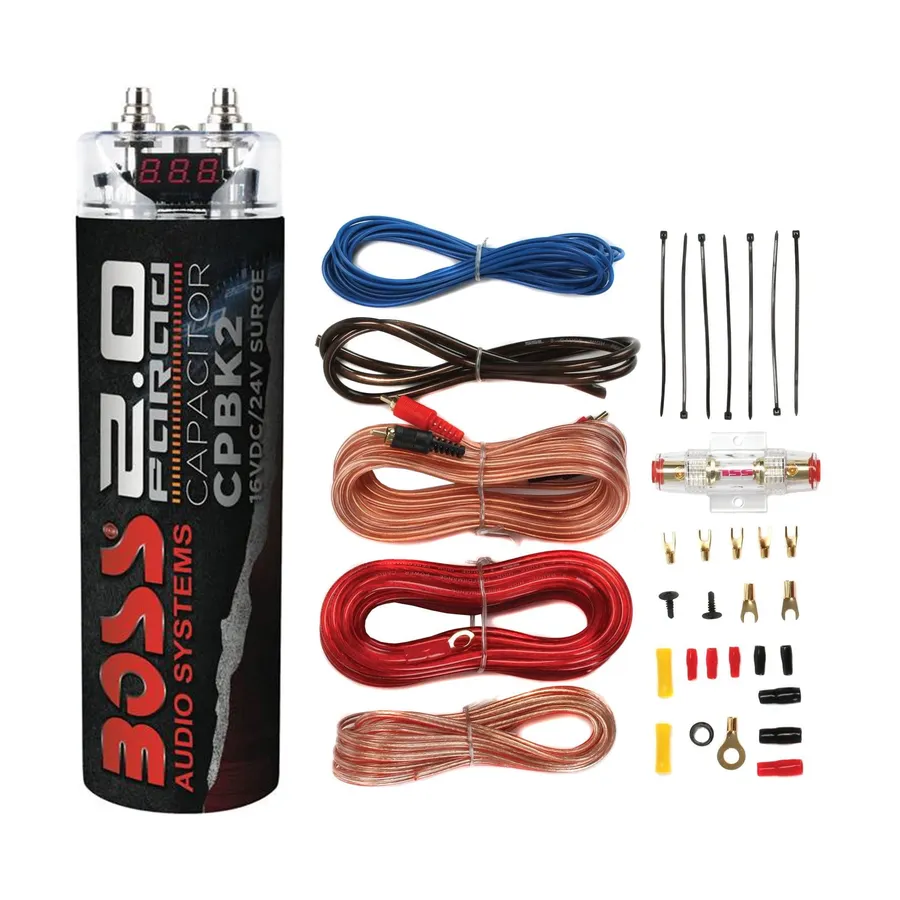
Installing an amp capacitor correctly is crucial for optimal performance and safety within your car audio system. This guide provides a structured approach to wiring your capacitor, emphasizing grounding best practices, to prevent electrical issues and ensure the longevity of your components.
Amp capacitors, while robust, are not immune to issues that can compromise their functionality. Understanding these common problems, such as overcharging, polarity issues, and general failure, is crucial for maintaining your car audio system's performance and longevity. Effective troubleshooting can save time and prevent unnecessary replacements.
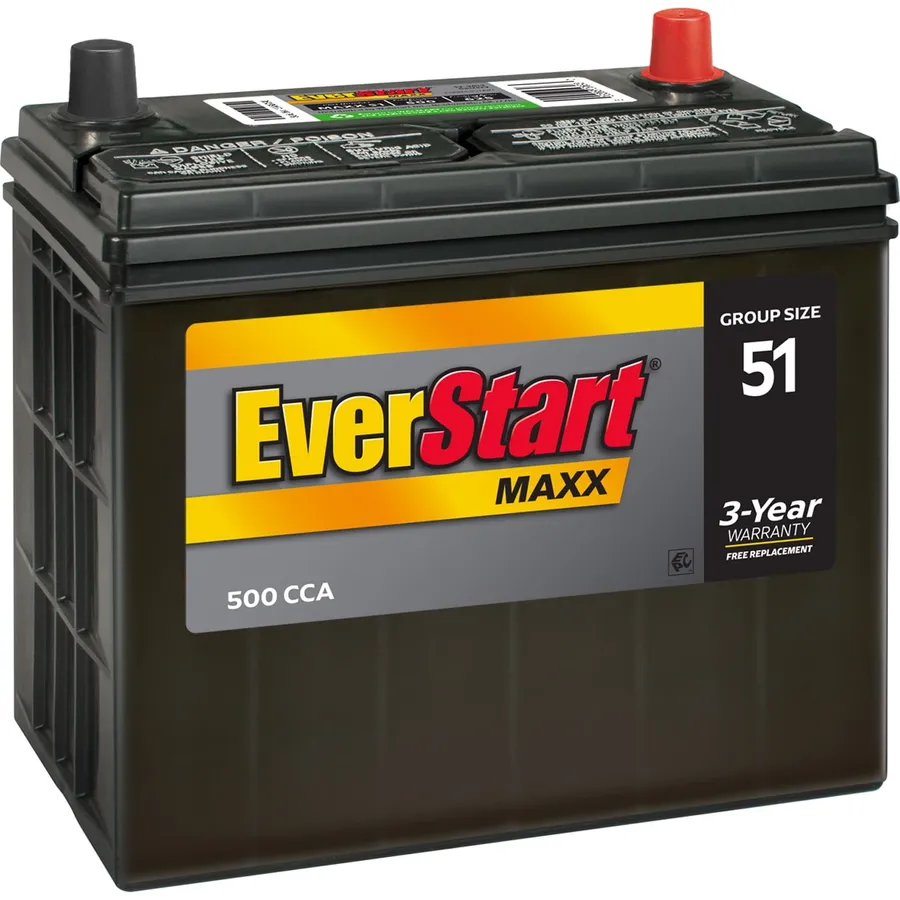
When seeking to enhance car audio performance, both amp capacitors and upgraded car batteries present viable options, yet they address different aspects of power delivery. An amp capacitor acts as a localized energy reservoir, designed to mitigate sudden voltage drops during peak audio demand. Conversely, an upgraded battery increases the overall capacity of the vehicle's electrical system, affecting all electrical components, not just the amplifier.
| Feature | Amp Capacitor | Upgraded Car Battery |
|---|---|---|
| Primary Function | Stabilizes voltage to amplifier during peak demand | Increases overall electrical system capacity |
| Benefit | Prevents voltage drops, dimming lights, and distortion during bass-heavy music. Enhances amplifier efficiency. | Improves overall vehicle electrical stability, supporting higher audio power and other electrical loads. |
| Installation | Installed inline with the amplifier's power wiring. | Replaces the existing car battery. |
| Cost | Lower upfront cost compared to a high-quality car battery. | Higher initial investment. |
| Longevity | Generally lasts several years. | Lifespan similar to a regular car battery but better performance for longer. |
| Best Use Case | Ideal for systems experiencing minor voltage drops. Effective for maintaining power for powerful amplifiers. | Recommended for systems with high power demands beyond car's original electrical capacity and for those looking for a holistic upgrade |
Choosing between an amp capacitor and an upgraded battery depends on the specific needs of your system. If your primary issue is voltage dips causing dimming lights or distortion when the bass hits hard, then an amp capacitor is the more cost-effective solution. However, if your system's demand exceeds the capabilities of your vehicle's electrical system as a whole, upgrading to a higher capacity battery may be required. In many high power car audio systems, both upgrades may be needed to achieve maximum performance.
This section addresses common questions regarding amp capacitors, providing clear and concise answers to help you understand their function, installation, and troubleshooting.
Amp capacitors act as a vital bridge between your car's electrical system and the amplifier, ensuring consistent power delivery and optimal sound quality. By smoothing out voltage fluctuations, these devices help prevent dimming lights and potential damage. Understanding when and how to use an amp capacitor, alongside proper installation and troubleshooting, can significantly enhance your car audio system. Whether you are a seasoned audiophile or a casual listener, optimizing your power delivery with an amp capacitor will greatly improve your driving experience.

