Unleash Your Car Audio: The Complete Guide to Audio Capacitors
2025.01.28
Imagine your car's sound system as a symphony orchestra. A sudden, loud crescendo could strain the power supply, much like a conductor demanding too much from a weak instrument. Here’s where an audio capacitor comes in; a vital component that smooths out power fluctuations and ensures your music hits hard, preventing dimming lights and distortion. Let's delve into how these devices enhance your in-car audio experience, transforming every drive into an immersive concert.
What is an Audio Capacitor?
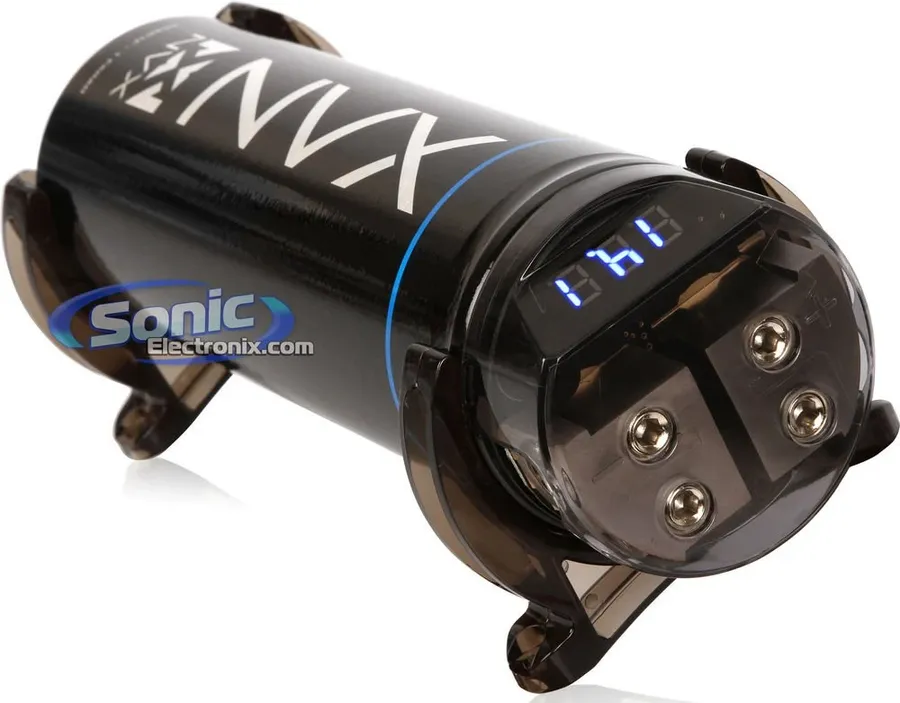
Car Audio Capacitor
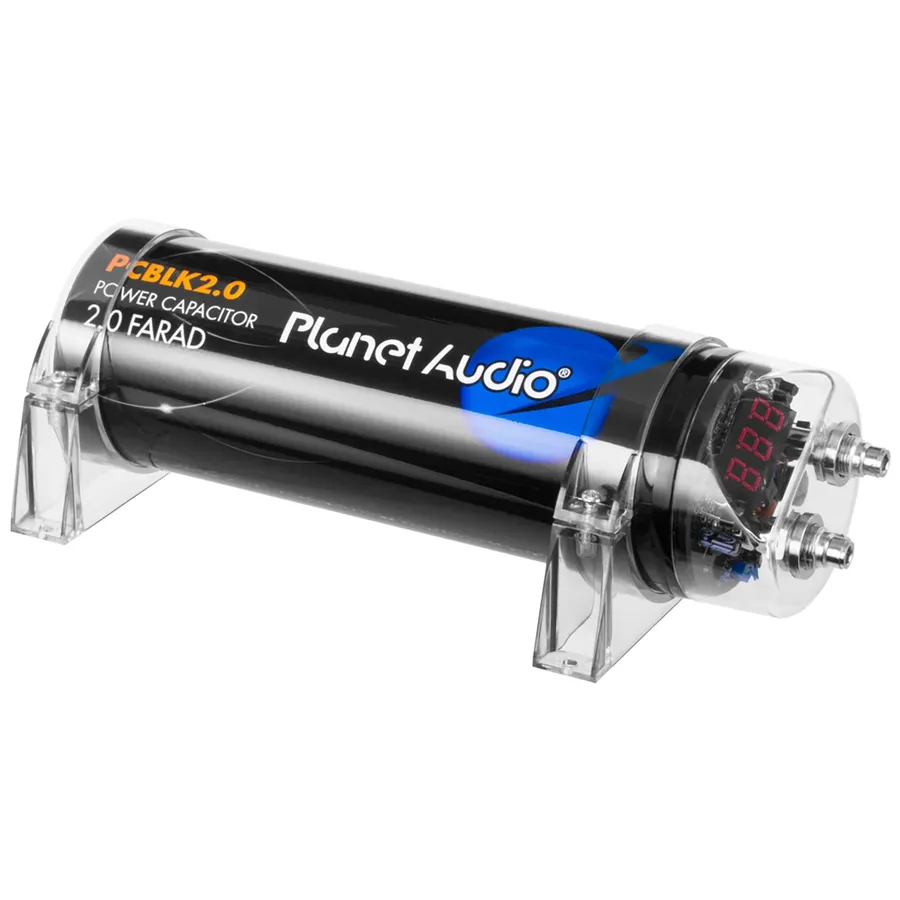
An audio capacitor, frequently referred to as a 'stiffening capacitor', is a crucial component within a car's audio system. Its primary function is to act as a temporary electrical energy storage device, providing a buffer against voltage fluctuations and ensuring a consistent power supply to the amplifier, particularly during high-demand audio transients.
Temporary Power Reservoir An audio capacitor stores energy and discharges it quickly to supplement the car's electrical system when the amplifier needs a surge of power.
Voltage Stabilization By acting as a reservoir, the capacitor helps in maintaining a steady voltage level, preventing voltage dips that can cause audio distortions.
Peak Demand Support Audio capacitors are most effective during high volume audio peaks, providing the required power to the amplifier to prevent sound degradation or amplifier shut off.
Why You Need an Audio Capacitor in Your Car
Car Audio System
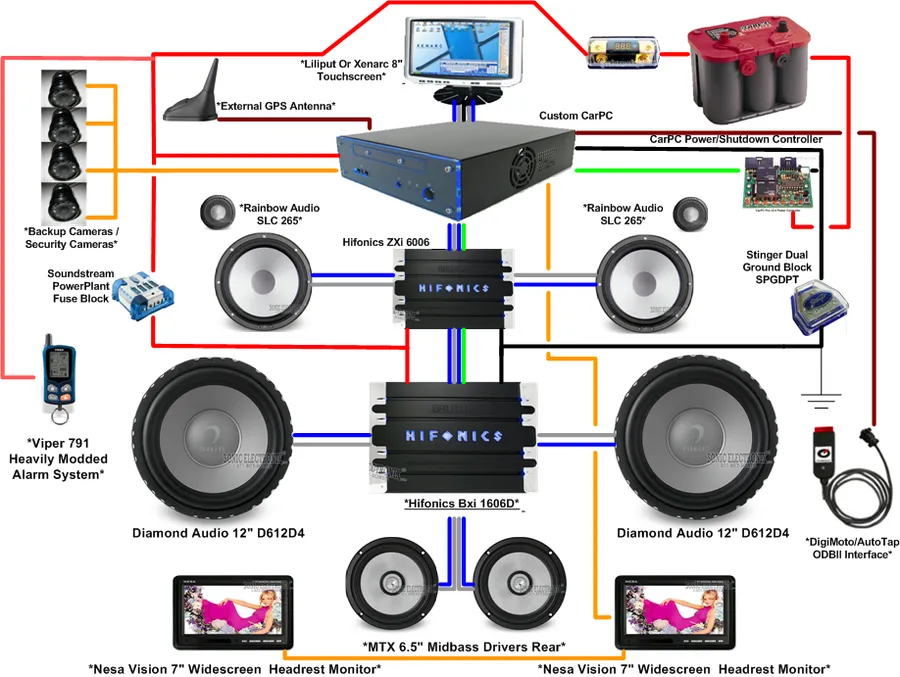
An audio capacitor is a critical component in a car audio system, particularly for setups with powerful amplifiers. Its primary function is to act as a buffer, providing a readily available source of power during peak audio demands. This prevents voltage drops that can lead to performance issues like dimming headlights and audio distortion, ensuring a cleaner and more robust sound output.
Stabilized Power Delivery Capacitors store electrical energy and release it quickly to meet the sudden demands of powerful amplifiers, preventing voltage dips.
Elimination of Headlight Dimming During high bass notes, amplifiers can draw significant current, causing headlights to dim. A capacitor provides the necessary reserve to mitigate this issue.
Reduced Audio Distortion Consistent power delivery from a capacitor minimizes the distortion and signal clipping that occur when an amplifier doesn't have sufficient power.
Enhanced Bass Response By ensuring the amplifier has adequate power during bass notes, capacitors help produce a tighter, more impactful bass response.
Issue
Without Capacitor
With Capacitor
Headlight Dimming
Common during heavy bass
Reduced or eliminated
Audio Distortion
More likely, especially at high volumes
Significantly less
Bass Response
May sound muddy or weak
Tighter, more defined bass
Amplifier Strain
Increased strain and potential damage due to power fluctuations
Reduced strain and enhanced longevity
Understanding Farads: Selecting the Correct Audio Capacitor Size
Farad Capacitor
Audio capacitor size, measured in Farads (F), is a crucial factor for optimal performance in your car audio system. Most car audio capacitors range from 0.5 to 5 Farads. Selecting the correct capacitance, by matching the farad rating to your amplifier's power output and electrical system load is essential to avoid under or over specification. It's a misconception that more farads always equal better performance; choosing an appropriate size based on your system requirements is more effective.
Capacitor Size (Farads)
Typical Amplifier Power (RMS)
Application Notes
0.5 - 1 F
Up to 500 Watts RMS
Suitable for smaller systems or single amplifiers
1 - 2 F
500 - 1000 Watts RMS
Good for moderate systems with one or two amplifiers
2 - 3 F
1000 - 1500 Watts RMS
Common in systems with mid range to high end amplifiers
3 - 5 F
1500 - 2500+ Watts RMS
Used in larger or high-performance systems with multiple amplifiers
Types of Audio Capacitors: Traditional vs. Super Capacitors
Super Capacitor Module
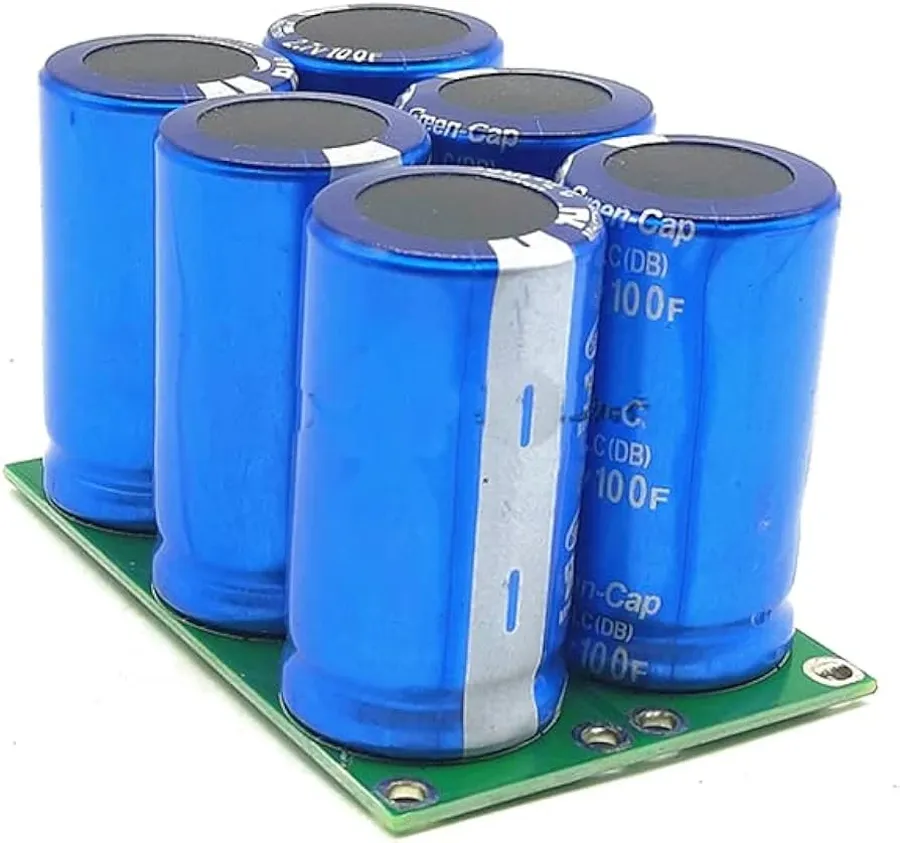
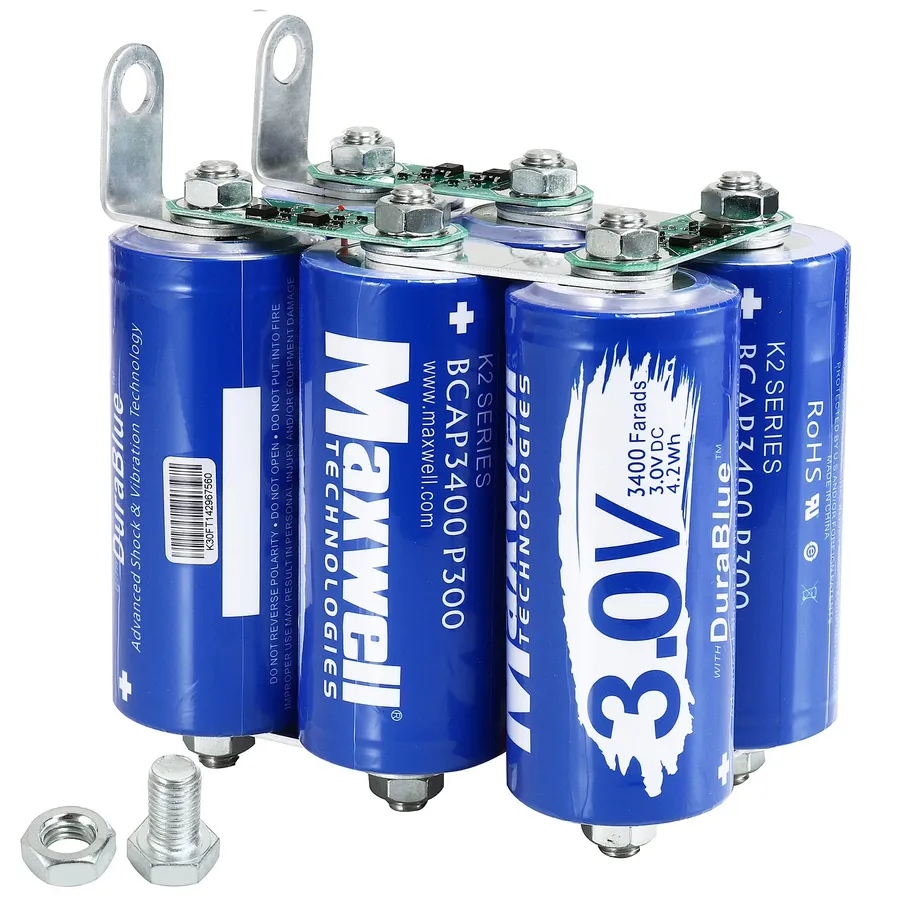
Audio capacitors are not a one-size-fits-all solution, with two primary types available: traditional capacitors and supercapacitors (also known as ultracapacitors). Each type offers distinct characteristics that cater to different needs and system requirements within a car audio setup. Selecting the appropriate type can substantially impact performance and cost.
Feature
Traditional Capacitors
Supercapacitors (Ultracapacitors)
Cost
More affordable
Significantly more expensive
Energy Storage
Moderate
High
Charge/Discharge Rate
Slower
Much faster
Lifespan
Moderate
Longer
Size
Larger for same capacitance
Smaller for same capacitance
Typical Application
General car audio systems
High-end systems requiring rapid power delivery
Traditional capacitors utilize conventional dielectric materials and are typically less expensive, making them a common choice for most car audio systems. However, they are generally bulkier and have a slower charge and discharge rate when compared to supercapacitors. Supercapacitors, on the other hand, use advanced materials to store significantly more energy within a smaller form factor and discharge that energy extremely rapidly which is very beneficial for systems requiring quick responses to transient audio peaks, usually found in more demanding, high-fidelity audio systems. Supercapacitors are more robust and offer an extended lifespan but come at a much higher cost than traditional types. Choosing the right type will depend on your audio system's requirements and budget.
How to Choose the Right Audio Capacitor for Your System
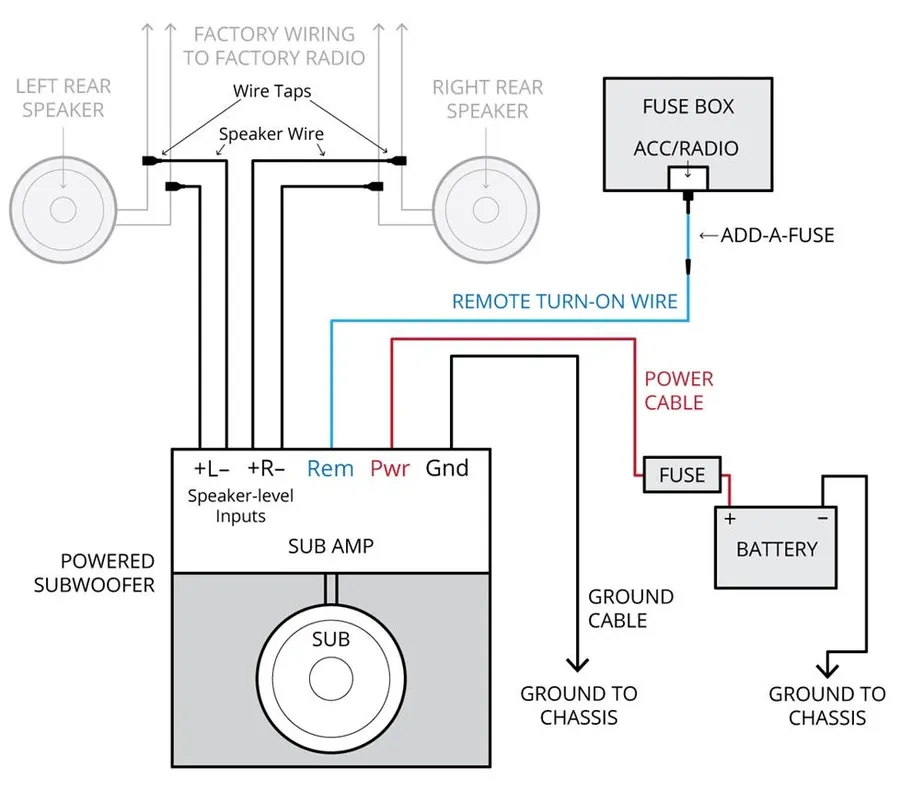
Car Amplifier Wiring
Selecting the appropriate audio capacitor is crucial for optimizing your car audio system's performance. This involves a careful evaluation of your amplifier's power output, your vehicle's electrical system, and your personal listening preferences. The goal is to ensure stable power delivery to your amplifier, thereby preventing sound distortion and equipment damage.
Here are the key factors to consider:
Amplifier Power (RMS) The amplifier's Root Mean Square (RMS) power rating is the primary determinant for the capacitor size. A general rule of thumb is to use one farad of capacitance for every 1000 watts of RMS power. However, this is an approximation and other factors may influence the precise requirement.
Vehicle's Electrical System Assess the condition of your car's battery and alternator. A weak or underperforming electrical system might require a larger capacitor, or upgrades to the electrical system itself, to ensure sufficient power reserve for the audio system. Consider the electrical load placed on your system.
Operating Voltage Ensure that the capacitor's rated voltage matches your car's electrical system, typically 12V. Using a capacitor with a lower rated voltage can lead to equipment failure and safety issues.
Build Quality and Materials The internal construction of the capacitor affects its lifespan and performance. Look for capacitors that use high-quality materials and have robust internal components, such as premium electrolytic fluids, internal bus bars, terminal design and secure mounting points.
Temperature Rating The capacitor's temperature rating is important for vehicle applications where extreme temperature swings may occur. Choose capacitors with a wide operating temperature range to ensure stable performance under all conditions.
Warranty A reputable brand offers a warranty. A good warranty suggests that the capacitor is made with good quality parts and gives you recourse in case of premature failure.
Personal Listening Preferences If you listen to music with heavy bass and frequent dynamic peaks, you may want to consider a larger capacitor to provide more reserve power during demand spikes. Consider what type of music you will be listening to.
Feature
Consideration
Amplifier RMS Power
1 Farad per 1000 Watts (RMS), but evaluate system requirements
Vehicle's Electrical System
Ensure the system is strong enough for the audio demands, a low power electrical system may require capacitor upgrade and additional electrical upgrades
Operating Voltage
Must match car's system voltage, typically 12V
Build Quality and Materials
Premium materials yield better performance, robust construction, terminal design and mounting points are important
Temperature Rating
Choose a capacitor that is rated for your vehicle's operating climate
Warranty
A reliable warranty offers peace of mind for premature failure and suggests good build quality.
Listening Preferences
Heavy bass and high peaks require more capacitance
Installing Your Audio Capacitor: Step-by-Step Guide
Installing Car Capacitor
Proper installation of an audio capacitor is paramount for both optimal performance and the overall safety of your car audio system. This process requires careful attention to detail and adherence to specific guidelines to ensure the capacitor functions as intended, providing consistent power to your amplifier and protecting your system from damage.
1. Select a Mounting Location Choose a mounting location for the capacitor as close as possible to your amplifier. This minimizes the distance the current must travel, reducing resistance and ensuring the capacitor can deliver power effectively. Ensure the location is dry, well-ventilated, and securely holds the capacitor.
2. Gather the Necessary Tools and Materials Collect all the required tools and materials. These will typically include a wrench set, screwdrivers, wire strippers, crimpers, appropriate gauge power and ground wire, ring terminals, a fuse or circuit breaker, and any mounting hardware needed for your specific capacitor.
3. Wiring preparation Cut the power and ground wires to appropriate lengths. The power wire should run from the main power source (usually the car battery) to the capacitor, including the fuse or circuit breaker near the battery. The ground wire should connect the capacitor to a solid grounding point on the vehicle’s chassis, ensuring good electrical connection, and minimize ground loop interference. Crimp the ring terminals to the wire ends.
4. Connect the Ground Wire Attach the ground wire from the capacitor to a metal point on the vehicle's chassis using a bolt or screw. Ensure the connection point is free of paint or corrosion for good grounding.
5. Install the Fuse or Circuit Breaker Near the vehicle's battery, install the fuse or circuit breaker on the power wire. This crucial safety step protects against short circuits and potential electrical damage. Ensure the fuse or breaker is rated appropriately for the capacitor and the car's electrical system.
6. Connect the Positive Power Wire Run the power wire from the fuse or circuit breaker to the positive terminal on the capacitor. Fasten the ring terminals to the capacitor terminals making sure correct polarity is maintained. If using a digital capacitor, consider connecting the remote wire.
7. Pre-Charge the Capacitor Before fully connecting the capacitor, you must pre-charge it to avoid a spark and potential damage. Some capacitors come with a charging resistor. Connect a test light or a resistor between the capacitor's positive terminal and the positive power wire for a short period of time, until the test light dims or the capacitor voltage reading is near to the car's battery voltage.
8. Final Connections and Testing After pre-charging, securely connect the power wire to the capacitor's positive terminal. Check all connections for tightness and proper polarity. Check the capacitor for operation by powering up your car audio system. Listen for improvement in audio dynamics and check if the car headlights are dimming on heavy bass. Re-check your connections if needed.
Troubleshooting and Maintaining Your Audio Capacitor
Maintaining the health of your audio capacitor is essential for optimal car audio performance. Like any electronic component, audio capacitors are subject to wear and tear and can exhibit various failure modes. Regular checks and proactive troubleshooting can prevent unexpected system failures and maintain the quality of your audio output.
Here's a breakdown of common issues, their symptoms, and maintenance tips:
Bulging or Swollen Casing A bulging or swollen capacitor casing indicates internal pressure buildup due to electrolyte degradation or excessive heat. This is a critical sign of failure and the capacitor should be replaced immediately.
Loss of Charge Retention If the capacitor fails to hold a charge, it will not fulfill its role as a voltage stabilizer. This can manifest as a lack of impact in bass notes and overall diminished audio performance. Use a multimeter to measure the capacitor's voltage after charging. A significant voltage drop over a short period indicates a problem.
Leaking Fluids Electrolyte leakage, usually a viscous fluid, is a sign of a severe failure, which can also corrode nearby components. If leakage is observed the capacitor should be replaced and any damaged components assessed.
Unusual Heat A capacitor operating at an abnormally high temperature can indicate internal resistance issues, potential component failure or over specification, this can lead to premature degradation. Use a thermometer to check the casing temperatures, or be mindful of unexpected heat.
Diminished Audio Performance If you experience symptoms like distorted bass, dimming headlights or the amplifier shutting down despite all wiring being correct, it might indicate an issue with your capacitor.
Regular maintenance and visual inspection is crucial to ensure the longevity and performance of your audio capacitor. Proper mounting, wiring and a suitable fuse within your systems electrical circuit will increase its overall operational life.
Frequently Asked Questions About Audio Capacitors
This section addresses common queries regarding audio capacitors, providing clear, concise answers to help you understand their function, identify potential issues, and make informed decisions about their use in your car audio system.
What is the primary function of an audio capacitor in a car? An audio capacitor acts as a temporary energy reservoir within a car's electrical system, primarily to stabilize voltage supplied to the amplifier during periods of high power demand, preventing voltage drops that can lead to audio distortion and headlight dimming. By rapidly discharging energy during short power spikes, it ensures consistent amplifier performance.
How can you determine if an audio capacitor is malfunctioning? Signs of a failing audio capacitor include physical deformities such as a bulging casing, a diminished ability to hold a charge, or visible leaks. Additionally, an audio capacitor that is not operating correctly will not be providing consistent power to the amplifier. Regular visual inspections and voltage checks are key to identifying such problems. If these symptoms are evident, the capacitor should be replaced.
Is installing a car audio capacitor a worthwhile investment for all audio systems? The necessity of an audio capacitor depends on the power demands of your car's audio system. For systems with powerful amplifiers and subwoofers, a capacitor is highly beneficial, reducing strain on the car’s electrical system. However, in systems with lower power consumption and less demanding audio setups, the benefits may be less significant, and other upgrades may be more beneficial.
Can I use an audio capacitor with a higher farad rating than originally specified? While a capacitor with a slightly higher farad rating may not pose a significant risk, using one that is excessively large may not necessarily offer performance benefits, and may have issues during charging. It's essential to match the capacitor to the amplifier's power requirements. A mis-matched capacitor will not enhance system performance and will negatively impact the stability of the electrical system.
What is the difference between a traditional audio capacitor and a supercapacitor? Traditional capacitors are more common and cost-effective for typical car audio systems, primarily storing electrical energy for short durations. Supercapacitors, also called ultracapacitors, offer significantly higher energy storage capacity and much quicker charge/discharge cycles, making them suitable for high-performance and high-demand systems. Supercapacitors are typically used in high-end audio setups due to their ability to provide more instantaneous power.
Does the location of an audio capacitor affect its performance? Yes, an audio capacitor should be mounted as close as practically possible to the amplifier it serves. By minimizing the wire length, resistance is reduced and the capacitor is able to respond much more quickly during power demands. This proximity also ensures the capacitor can discharge power effectively to the amplifier, preventing voltage drops.
Are there safety precautions I should take when working with an audio capacitor? Yes, safety measures are crucial. Before connecting an audio capacitor, ensure it is pre-charged to avoid a power surge that can damage the system. Be sure to use the correct fuse protection, and be certain to observe correct polarity (+ and -). Always disconnect the car's battery before making any electrical connections and follow all manufacturer’s instructions closely to avoid any system damage or physical harm.
Audio Capacitor vs. Upgraded Battery: Which is Best?
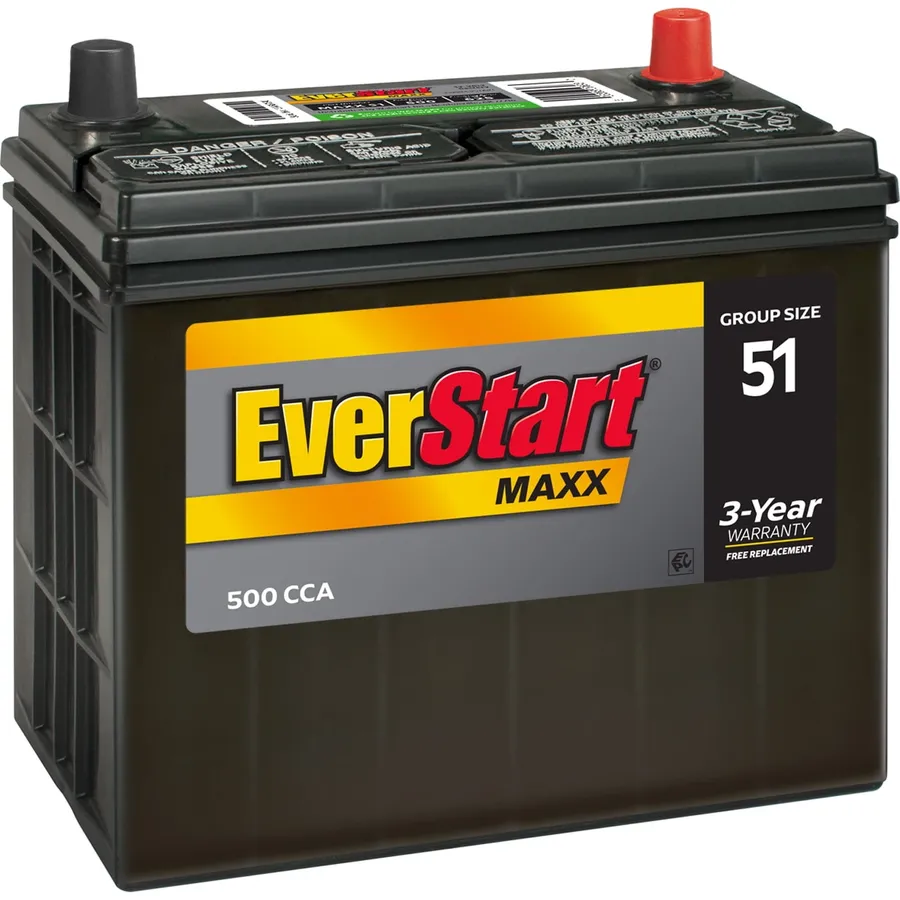
Car Battery
While both audio capacitors and upgraded batteries serve to enhance car audio system performance, they address different aspects of power delivery. An audio capacitor acts as a localized, short-term energy buffer specifically for the amplifier, whereas an upgraded battery aims to provide a more robust overall electrical system for the vehicle. The choice between the two, or whether both are needed, depends on the specific power demands of the audio system and the electrical capabilities of the vehicle.
Feature
Audio Capacitor
Upgraded Battery
Primary Function
Provides short-term power reserves to stabilize voltage for amplifiers during transient power demands.
Increases the overall capacity of the vehicle's electrical system to support both normal vehicle operation and aftermarket audio systems.
Energy Storage
Limited, designed to handle peak current demands, often measured in Farads.
Significant, able to sustain high current draw for extended periods, measured in Amp-hours.
Power Delivery
Quick bursts of power to reduce amplifier clipping and distortion during bass notes
Sustained, higher-current power flow throughout operation.
Target System
Specifically for car audio amplifiers.
Vehicle's entire electrical system.
Effect on Dimming Headlights
Reduces voltage dips at the amplifier, but only secondarily effect on dimming headlights.
Primarily addresses the source of voltage drop and is most effective at reducing headlight dimming.
Cost
Generally lower cost initially, with prices varying by capacitance
Typically higher initial cost due to the more complex battery construction and larger capacity
Installation
Installed close to the amplifier with less impact on the rest of the vehicle's electrical system
Replaces the existing car battery, which can require a larger physical area
The decision to choose either an audio capacitor, an upgraded battery, or both depends on your system's specific requirements and your vehicle's capabilities. A high-power audio system might benefit from both to manage transient power needs and the higher overall power draw. For those with more modest systems, a capacitor alone might be sufficient, whereas if the system still causes issues such as dimming headlights, then upgrading the battery would be more beneficial. Therefore, an assessment of your needs should be made to determine what components are required.
In conclusion, audio capacitors are an important tool for enhancing your car's audio system. They improve sound quality and reduce power fluctuations by providing an immediate power boost when needed. Whether you are a bass enthusiast or simply enjoy a cleaner listening experience, choosing the correct audio capacitor, understanding its purpose, and correct installation are key to unlocking your system’s full potential, ensuring every drive is a pleasure. When it comes to enhancing your car's audio experience, an audio capacitor is more than just a component—it's the key to unlocking a purer, more powerful sound. By managing power delivery, it transforms your drive into a premium auditory experience.